Introduction
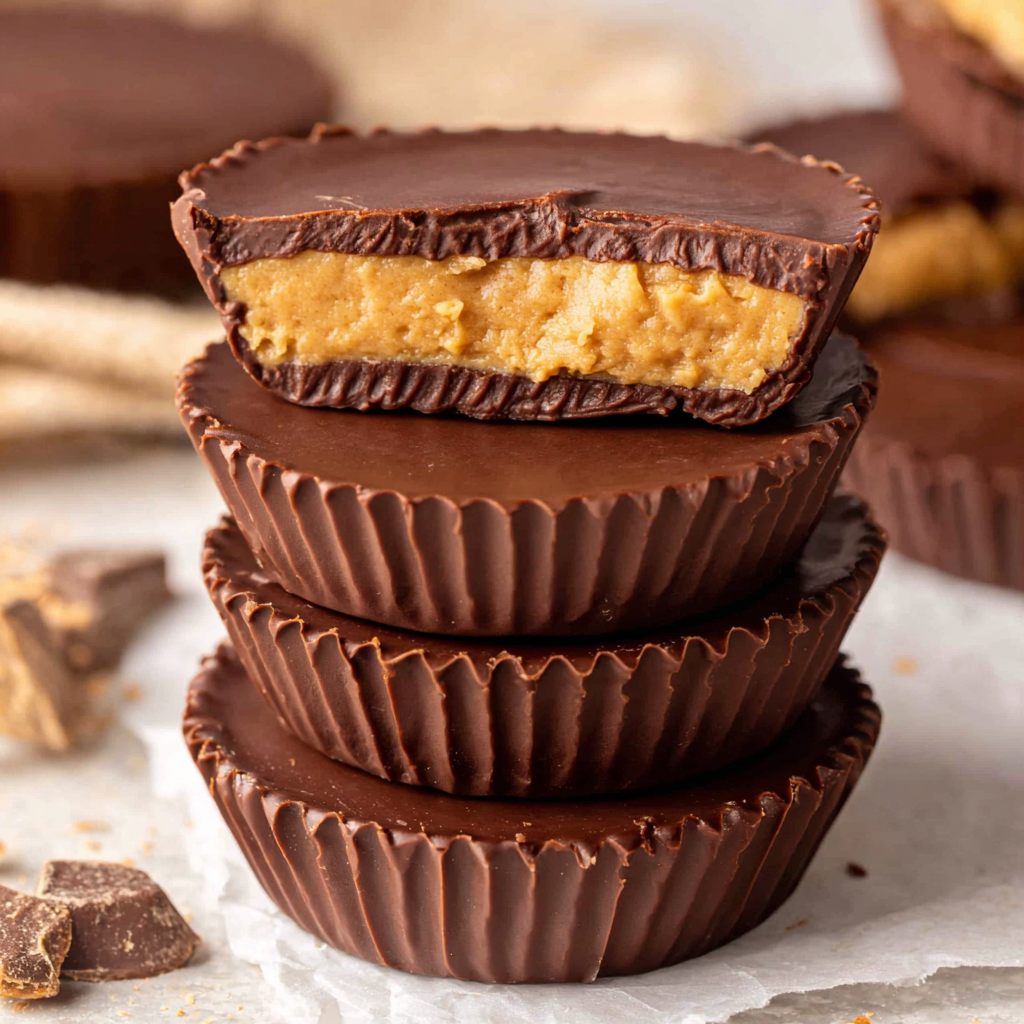
If you’re seeking a delicious yet nutritious treat, look no further than protein peanut butter cups. These homemade delights are not only simple to prepare but also provide a satisfying balance of taste and nourishment. With the perfect amount of sweetness and creaminess, they make for an excellent snack or dessert option.
Combining the creamy decadence of peanut butter with a rich chocolate coating, these cups will satisfy your sweet tooth without the guilt. Packed with protein, they offer a great boost for a post-workout snack or a midday energy lift. Let’s dive into this simple recipe that will have you creating your own delicious treats in no time.
Ingredients
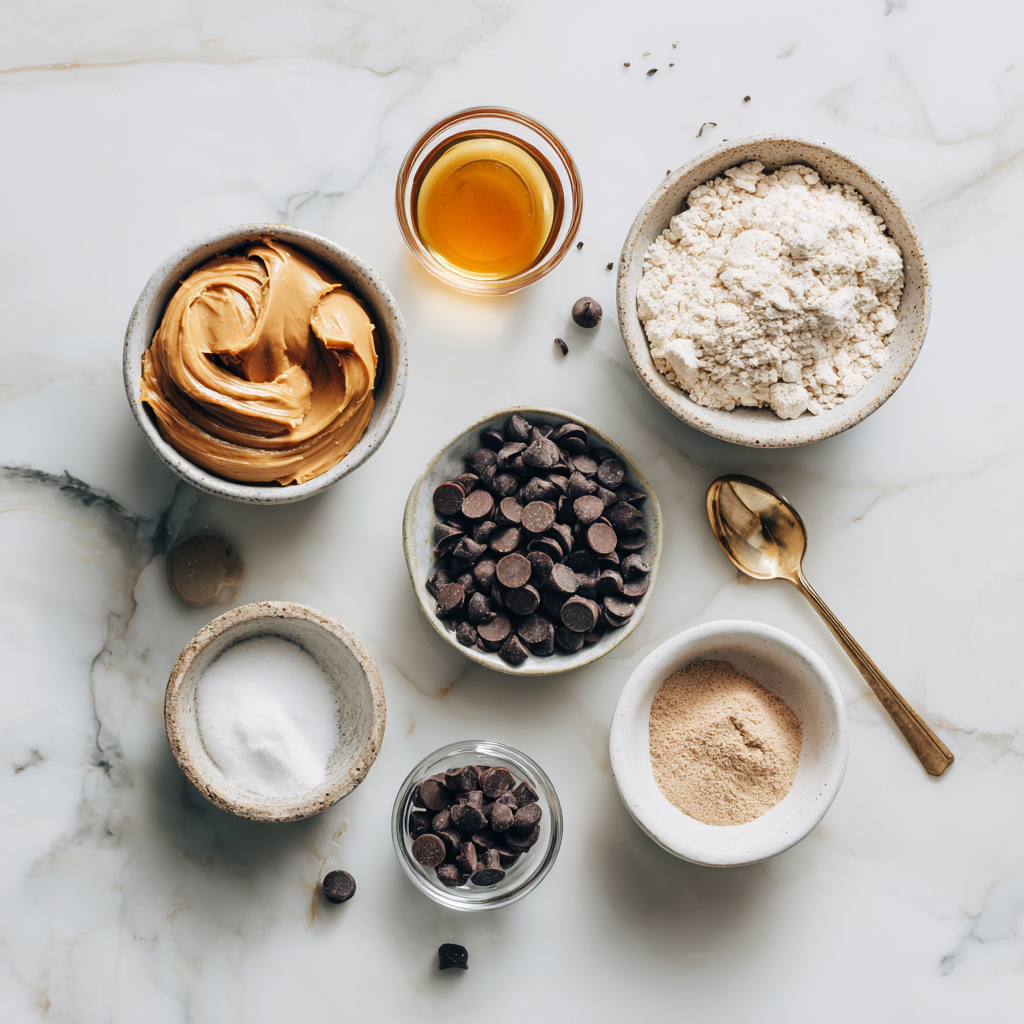
- 1 cup natural peanut butter
Natural peanut butter serves as the main ingredient, providing healthy fats and protein. Its creamy texture creates a luscious filling that is both satisfying and indulgent. - 1/2 cup honey or maple syrup
Honey or maple syrup acts as a natural sweetener, enhancing the flavor while also adding moisture to the mixture. These alternatives provide depth to the sweetness without processed sugars. - 1/4 cup protein powder (vanilla or chocolate)
Adding protein powder increases the overall protein content of the cups, making them a perfect post-workout snack. Opting for vanilla or chocolate flavor complements the other ingredients beautifully. - 1/2 teaspoon vanilla extract
Vanilla extract adds a warm, aromatic flavor that enhances the overall taste of the peanut butter filling. It balances the sweetness and adds a layer of complexity. - 1 cup dark chocolate chips
Dark chocolate chips create a rich and decadent outer layer, providing antioxidants and a satisfying crunch. Their slightly bitter flavor contrasts well with the sweet filling. - 1 tablespoon coconut oil (optional)
Coconut oil can be added to the chocolate to achieve a smoother consistency when melting. It also lends a subtle tropical flavor and helps the chocolate set with a nice sheen.
Directions & Preparation
Step 1: Mix the peanut butter, honey, protein powder, and vanilla extract in a bowl until smooth.
This initial mixing is crucial for ensuring that all ingredients are well combined. The smooth consistency of the mixture allows for even distribution of flavors. Make sure no clumps remain, as that would alter the texture of the final product.
Step 2: Melt the dark chocolate chips and coconut oil (if using) in a microwave-safe bowl.
Melting the chocolate carefully is important to avoid scorching. Use short bursts in the microwave, stirring in between, until the mixture is fully melted and smooth. This will create a glossy coating that enhances the aesthetic appeal of your cups.
Step 3: Lining a muffin tin with cupcake liners or lightly greasing it, pour a layer of melted chocolate into each cup.
Creating a base for the cups is key to achieving that signature layered look. This layer of chocolate prevents the peanut butter filling from leaking out and ensures a delightful bite of chocolate in every mouthful.
Step 4: Chill the chocolate layer in the refrigerator for about 10 minutes until it firms up.
Chilling the chocolate allows it to set properly, creating a solid foundation for the peanut butter filling. This step helps retain the structure of the cups when they are finally assembled.
Step 5: Spoon the peanut butter mixture over the set chocolate layer in each cup.
Adding the peanut butter mixture on top of the chilled chocolate is where the magic happens. It’s essential to evenly distribute the filling to ensure each cup is equally delightful and satisfying.
Step 6: Cover the peanut butter layer with another layer of melted chocolate.
Sealing the filling with chocolate not only provides a beautiful finish but also prevents the peanut butter from drying out. This final layer adds a textural contrast, marrying the flavors together perfectly.
Step 7: Chill the filled cups in the refrigerator for at least 30 minutes until fully set.
Chilling is critical to allow the layers to fuse together harmoniously. This wait time ensures that the cups come out cleanly and hold their shape when enjoyed.
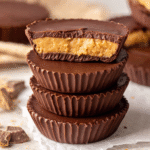
Step 8: Remove the cups from the muffin tin and enjoy!
Carefully peeling back the liners allows you to reveal perfectly formed peanut butter cups. The moment of indulgence is finally here, so savor each bite, knowing it’s a healthier treat crafted by your own hands.
Customizing Your Peanut Butter Cups
One of the joys of making homemade protein peanut butter cups is that you can easily customize them. Consider adding chopped nuts, dried fruit, or even a sprinkle of sea salt to the top before the final chocolate layer sets. Each addition can enhance the texture and flavor, turning a simple treat into a culinary delight tailored to your preferences.
Nutritional Benefits and Serving Suggestions
These protein peanut butter cups not only taste great but also provide nutritional benefits. Packed with protein, healthy fats, and moderate natural sugars, they make for an excellent post-workout treat or a mid-afternoon snack. Pair them with a piece of fruit or a glass of milk for a balanced energy boost.
Troubleshooting Common Issues
If you find the filling is too thick, consider adding a small amount of melted coconut oil or another drizzle of honey to loosen it up. Conversely, if the chocolate layer is too thin and doesn’t coat well, you might need to adjust the melted chocolate ratio or chill the layers longer to ensure optimal structure and mouthfeel.
FAQs
What if my chocolate layer hardens too quickly?
If the chocolate sets too quickly, it may be because it was overheated. Next time, melt it in short intervals and stir frequently to maintain a creamy consistency.
How can I make the filling less sweet?
To reduce the sweetness of the filling, you can decrease the amount of honey or maple syrup, or opt for unsweetened protein powder for a more balanced flavor.
Why did my peanut butter cups crack when removing them?
Cracking may occur if the cups weren’t allowed to chill sufficiently. Ensure they are well set before removing and consider using silicone molds for easier release.
Can I use different nut butters in this recipe?
Yes, feel free to experiment with nut butters like almond or cashew. Each will bring its unique flavor profile to the cups.
What can I do if my peanut butter filling is too runny?
If the filling is too runny, adding more protein powder can help thicken it. Be cautious with how much you add, as you want to maintain a good balance.
How do I adjust portion sizes for larger gatherings?
To scale up the recipe, simply multiply the quantities of each ingredient by the number of servings desired, adjusting cooking times as needed depending on the size of your molds.
Conclusion
Making protein peanut butter cups at home is not only enjoyable but also provides a practical way to indulge in a sweet treat while still adhering to your nutritional goals. With a few simple ingredients, you can create a healthy snack that satisfies both your cravings and your body’s needs.
So gather your ingredients, roll up your sleeves, and embark on this rewarding culinary adventure. Your taste buds—and your body—will thank you for it. Enjoy!
Recipe Card
Protein-Packed Peanut Butter Cups for Home Cooks
Ingredients
- 1 cup natural peanut butter
- 1/2 cup honey or maple syrup
- 1/4 cup protein powder vanilla or chocolate
- 1/2 teaspoon vanilla extract
- 1 cup dark chocolate chips
- 1 tablespoon coconut oil optional
Instructions
- Mix the peanut butter, honey, protein powder, and vanilla extract in a bowl until smooth.
- Melt the dark chocolate chips and coconut oil (if using) in a microwave-safe bowl.
- Lining a muffin tin with cupcake liners or lightly greasing it, pour a layer of melted chocolate into each cup.
- Chill the chocolate layer in the refrigerator for about 10 minutes until it firms up.
- Spoon the peanut butter mixture over the set chocolate layer in each cup.
- Cover the peanut butter layer with another layer of melted chocolate.
- Chill the filled cups in the refrigerator for at least 30 minutes until fully set.
- Remove the cups from the muffin tin and enjoy!
Notes
Additional serving suggestions: pair with a crisp salad, garlic bread, or roasted seasonal vegetables for balance.
For make-ahead, prep components separately and assemble just before heating to preserve texture.
Taste and adjust with acid (lemon/vinegar) and salt right at the end to wake up flavors.


